Resizing Images for Emails and Websites

An image makes a story more compelling; it shows a scene better than words ever could, which is why using images in any marketing campaign is always a good idea. Their downfall? File size.
Even optimized JPGs and PNGs can grow the file size of a webpage or email exponentially, so it’s important to make sure the images you use are sized correctly for their use.
While doing some routine email testing for a client recently, we noticed that the images were loading slow in our email client. Upon closer inspection, we found that the images the were sending were sized for print work, rather than web, some images were upwards for 15-18mb. Yikes!
Thankfully, it’s a quick and easy fix to get these images resized and optimized for email sending.
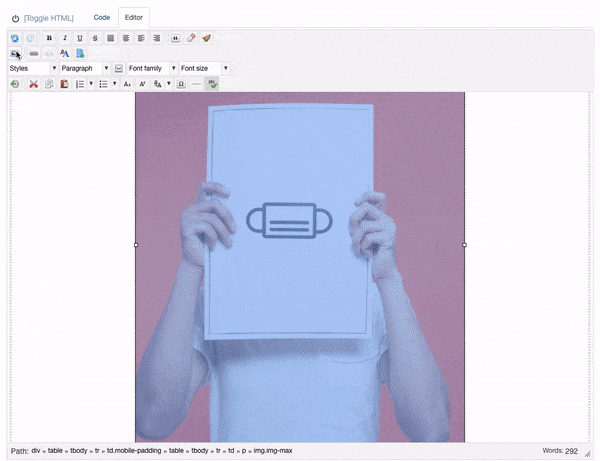
Tourism Engine has a handy built-in image editor that has a full suite of editing options such as crop, color edit, and resize. To access the editor select the image in your email, and then click on the image add/edit. Then Edit (button) > Resize > Width = 600px > Apply > Save. Rename the file. I usually add the new size of the file at the end of the file name (ex: Sample-image-600px.png). Save the image and then select the new image for your update. Here’s what that looks like all together:
If you’re looking to do this for an image on a website or a different online application, here’s how resize images on your computer using built in image editors for the web or other email applications:
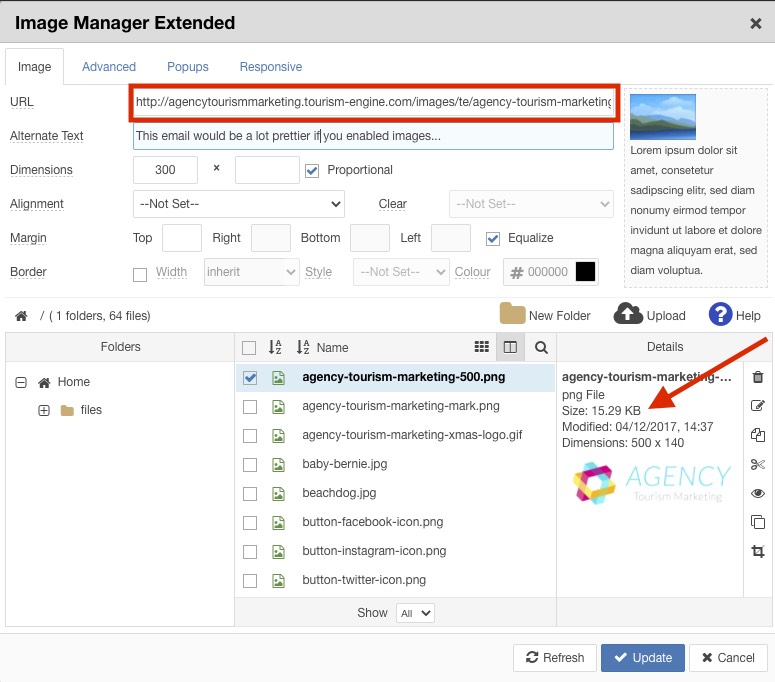
1. Download the image to your computer. In Tourism Engine, you can always get the URL of the image from the image editor. You will also see the file size of your image in this screen. For email, images should be sized for the exact space they will take up. So, if you are using the image as a header in your image, it should be no larger than 600px wide for most applications.
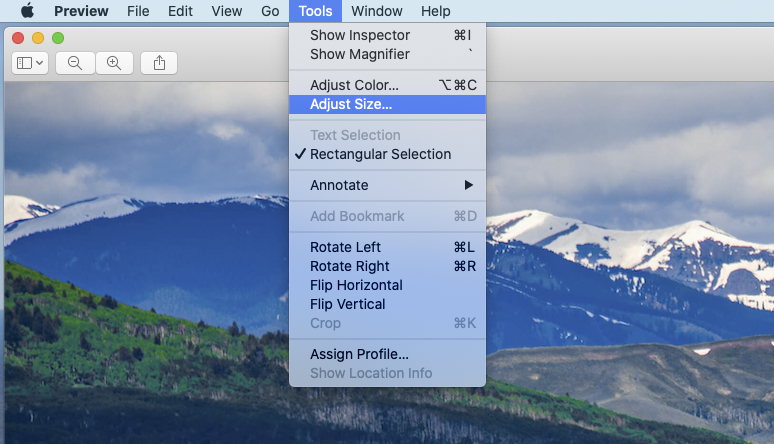
2. Open the image in your photo-editor of choice. Many of the native photo editors like Preview on Mac have these features built in. Windows Paint app will also get the job done.
3. Mac: Once in Preview, go to the Tools menu, and click on “Adjust Size”. Window: In Paint, click the “Resize” button on the Home tab.
4. Mac: Set the resolution to 72 pixels / inch and make sure “Scale Proportionally” is checked.
6. Mac & Windows: Adjust the “Width” to your desired size in pixels. In email, 600px is probably perfect. If you’re creating a full-width background image for a webpage, you might select 1800px width to account for larger screens. You never want to make an image LARGER than it is; this leads to pixilation and image degradation.
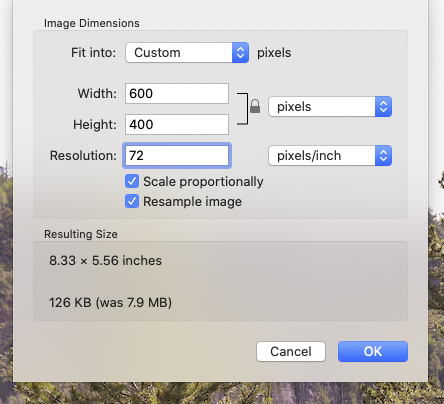
7. Preview will tell you the new file size. Smile. Mac & Windows: Click “OK.”
8. Then save your image and upload to your platform.
9. Lather, rinse, repeat with all of your images.
10. Send fast emails. Have fast page loads (which improve your page speed and SEO score with Google!).
Let us know if you have any questions or need help with your next website or email project. Want to see a Protip with your question? Shoot us an email!